Mt. Talamitam Dayhike Guide (Itinerary + Tips)
Introduction
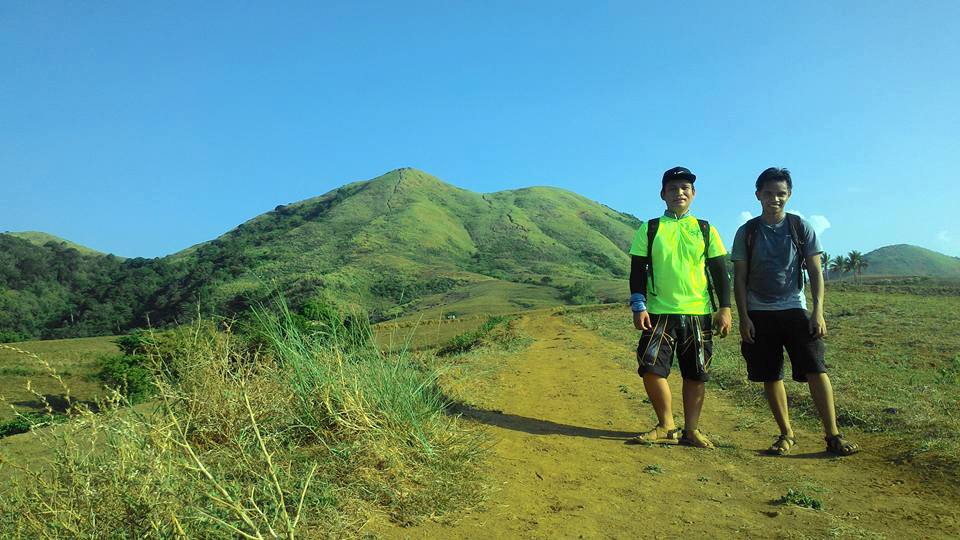
Mt. Talamitam is located in Nasugbu, Batangas. It offers a wonderful view of Batangas and Cavite. Mt. Talamitam has an elevation of 630 meters above sea level or 2,066 feet. Although not as cold and not as high as its nearby old sister Mt. Batulao, its beautiful summit views and picturesque grassland part are astounding. Also, it is a relaxing place that is good for overnight camping and it has a demanding seventy-degree assault before you reach the summit.
Mt. Talamitam is a beginner-friendly mountain. It’s a perfect mountain for both first-timers and seasoned hikers because of its easy trails. With a wide green grassland campsite and summit, one can do overnight camping and witness the stunning sunrise, magical sunset, and the majestic view of the Milky Way galaxy on a clear night.
Mt. Talamitam is composed of three trails. The first part is river crossing in woodland and fields. The second part is a vast grassland and the third part is the rolling hills composed of tall cogon grass all the way to the peak. It was said that the mountain was named as such due to the bountiful Talamitam trees that were once found in its rolling hills.
Mt. Talamitam had a dazzling and superb history. According to its past history, it has pure lush green plants and untainted flora. However, for some reason, the trees are not existing now. As of now, its peak is unvarnished, but maximum attempts are in progress to protect and restore the peak with tree planting activity by the locals, DENR (Department of Environment and Natural Resources), and some volunteers.
Mt. Talamitam also offers a chill hike and a nice place to destress and unwind from the bustle of city life. It is a budget-friendly mountain because of its proximity to Manila. In addition to this, hikers and mountaineers can forget their problems in life at this mountain. In addition, it’s good for adventure seekers and free-spirited souls.
The trail of Mt. Talamitam is very simple, taking just a maximum of three hours to reach the summit. However, it can be a very tiresome hike if the sun is already high in the middle of the day because there are few trees to offer shade and for the most part the trail is exposed allowing hikers and mountaineers to see the vast distance it covers.
Name: Mt. Talamitam
Difficulty: 3/9
Elevation: 630 MASL
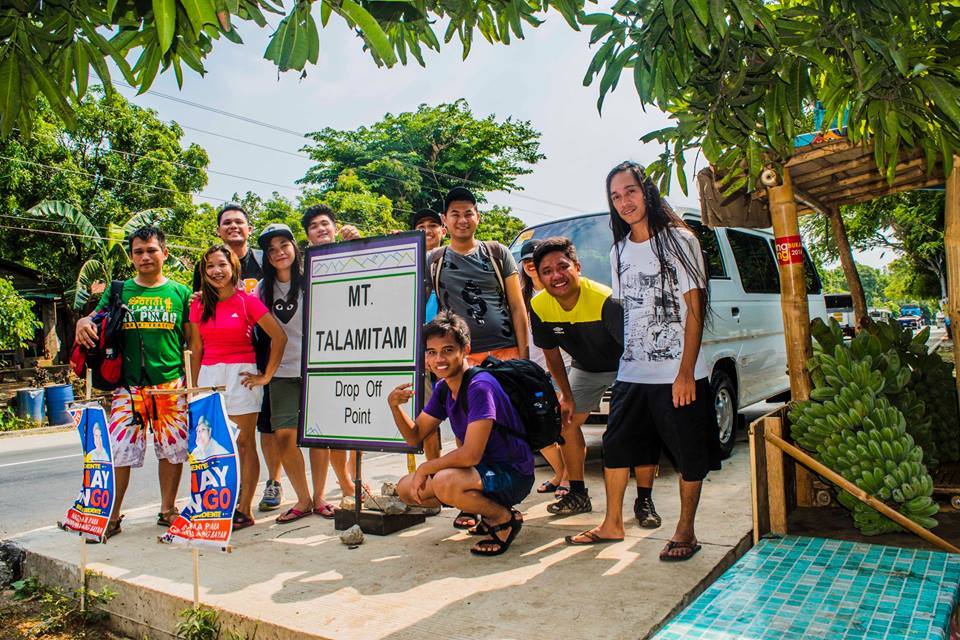
Jump-Off: Sitio Bayabasan, Barangay Aga, Nasugbu, Batangas or Barangay Kayrilaw
Hours to summit: 2 hours
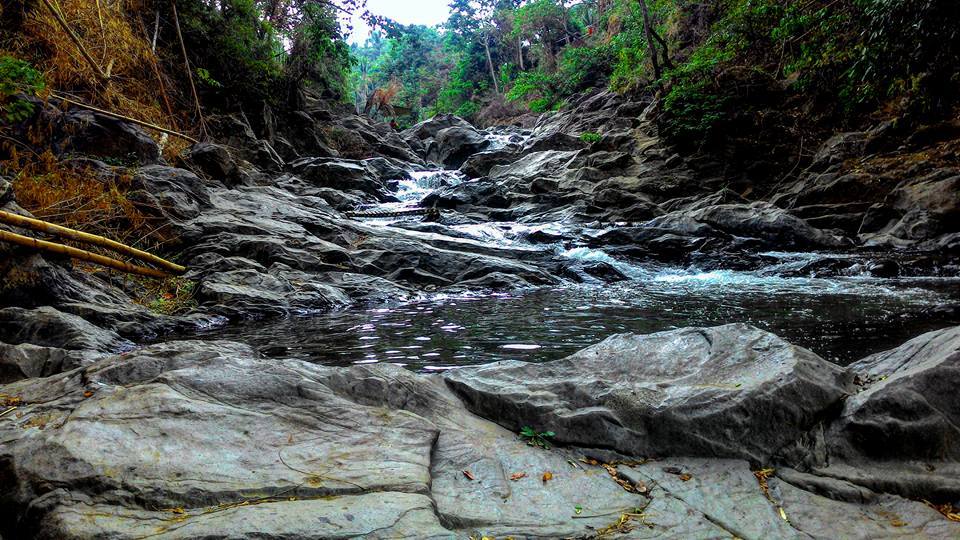
Features: woodland, grassland, Layong Bilog River and panoramic view of Batangas and Cavite mountains.
My trip to Mt. Talamitam and Mt. Apayang
While I was browsing my social media account I saw someone posting in the hikers’ group about Mt. Talamitam and Mt. Apayang twin hike with a side trip to Layong Bilog River. I have never done any twin hikes before and also I miss hiking so I decided to join an organized trip going to Mt. Talamitam. I’m a solo joiner and not having a buddy didn’t stop me from doing what I love to do and that is hiking.
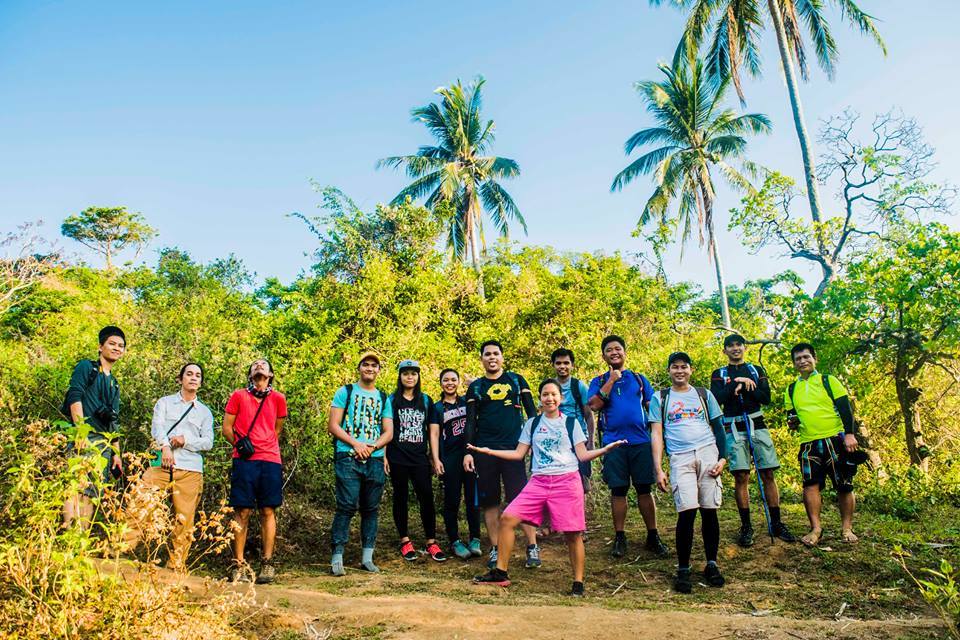
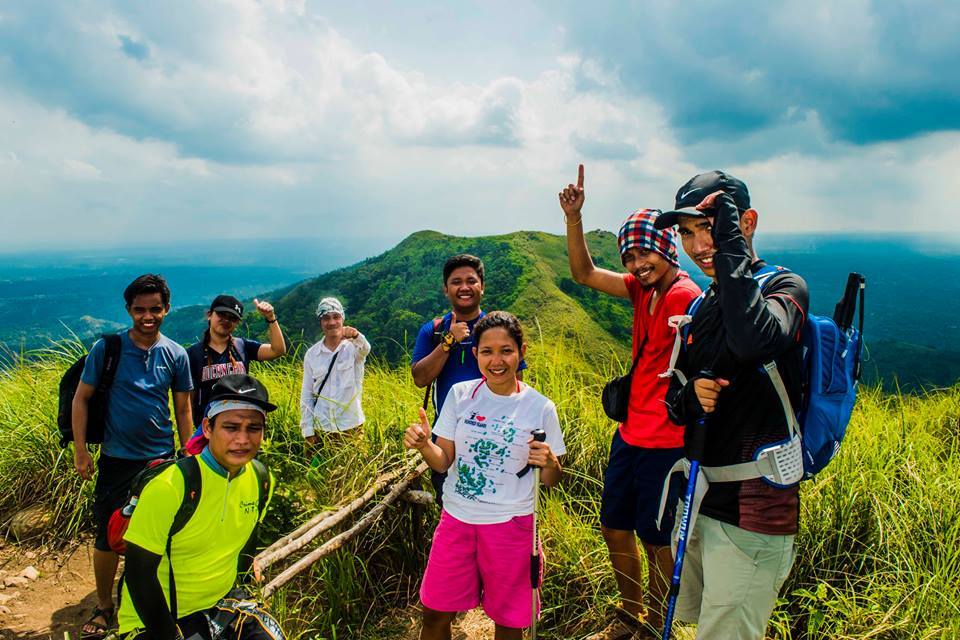
It was Sunday at 1:30 am when I arrived at our assembly place in Jollibee Farmers Cubao. We are thirteen in the group. Some are experienced hikers and others are beginners. When everyone has already arrived, our van departs from Cubao and heads to Nasugbu, Batangas.
We arrived at the jump-off point of Mt. Talamitam around 5:30 am. It was still dark and our group registered and secured the guide. We had a brief orientation of the mountain trail, our group signed up in the logbook and when everybody finished eating their breakfast food, we commenced the hike at 6 am. It’s really nice to hike up the mountain before sunrise.
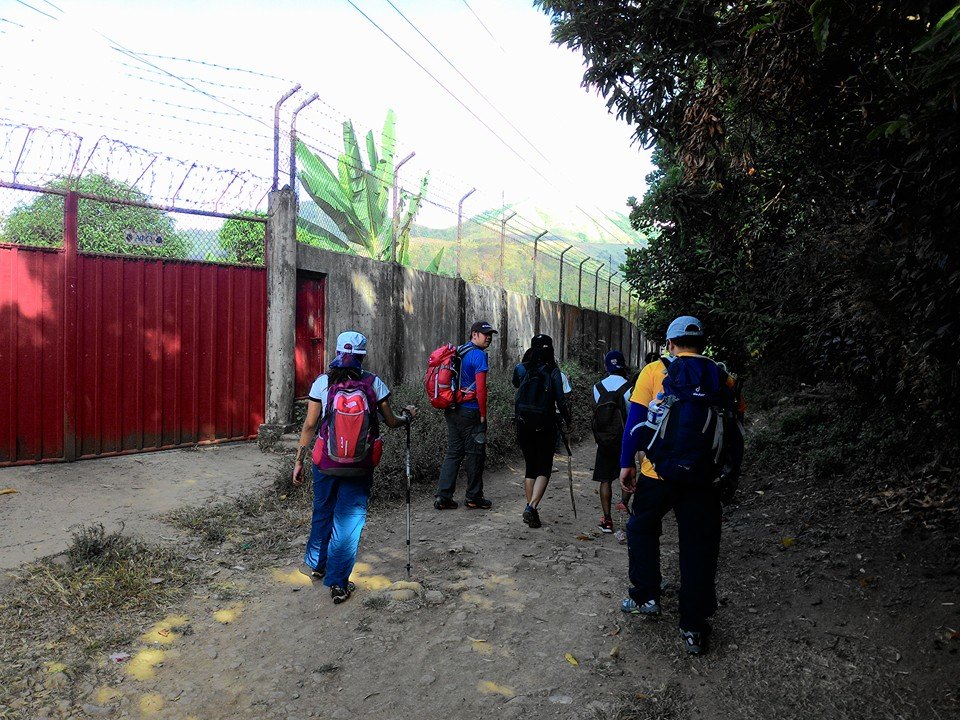
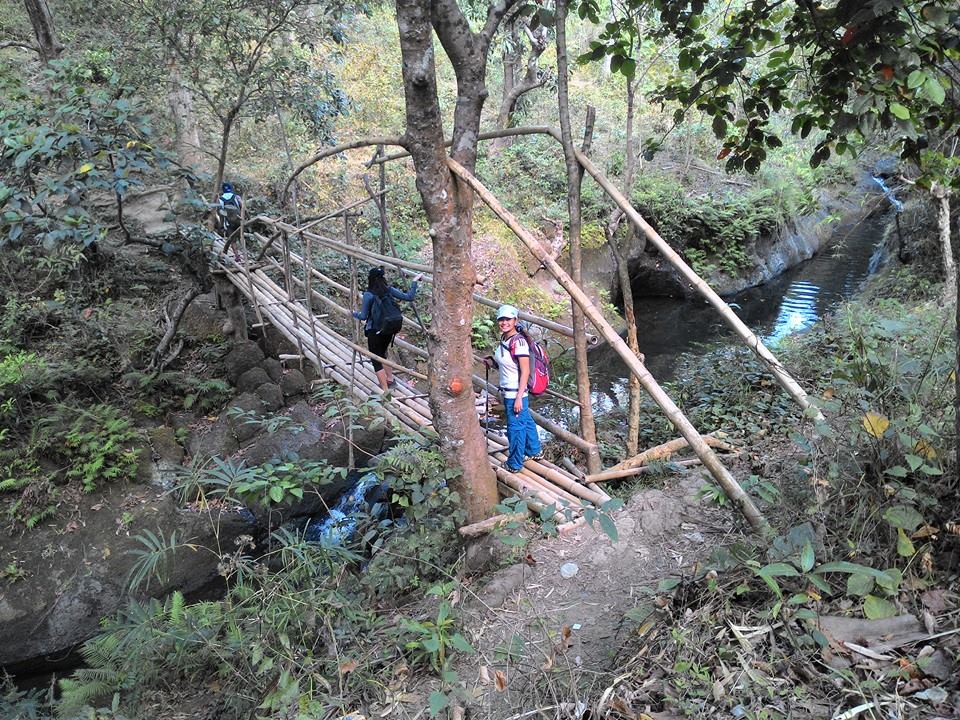
From the conventional trailhead in Barangay Aga, the first part of the hike is descending on an unpaved road about one kilometer long and passing some residential houses and the dogs welcomely bark at us. Then we turn left, passing a sixteen-foot concrete bridge inside the forest. Then we crossed the Talamitam river with the help of the bamboo bridge. I noticed that the river is shallow and sufficient to be crossed by barefoot maybe because we came during the summer season.
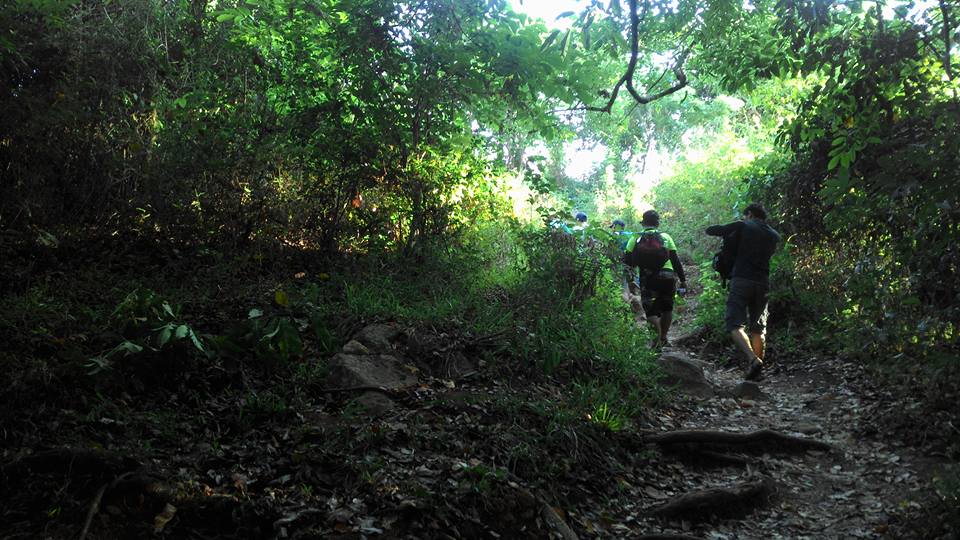
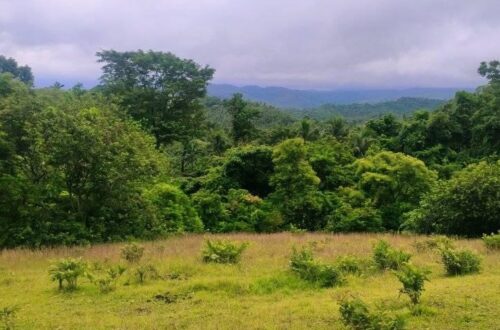
Past the Talamitam river, the trail becomes a woodland and gradually ascending slope which connects to the wide grassland plateau. It is manageable because the trail is covered with a lot of trees. On the other hand, our guide told us that there is no water source on our way to the summit. We ascended at a moderate pace and as we went higher, less green lush trees could be seen. Furthermore, a few meters from here is where we encountered cows and horses. We reached the grassland plateau portion at 7:15 am.
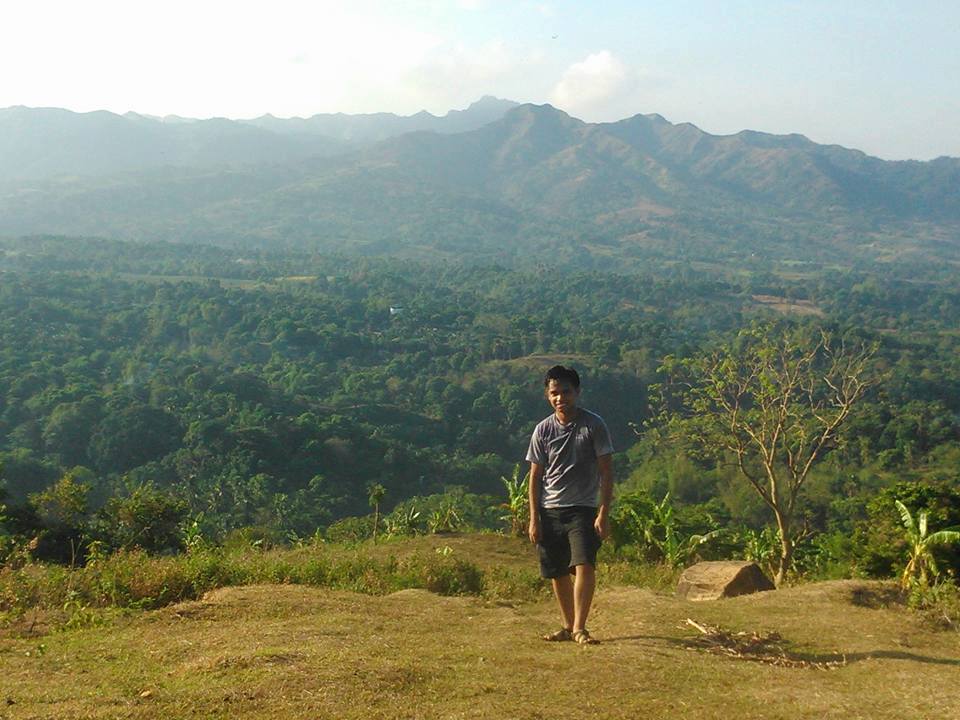
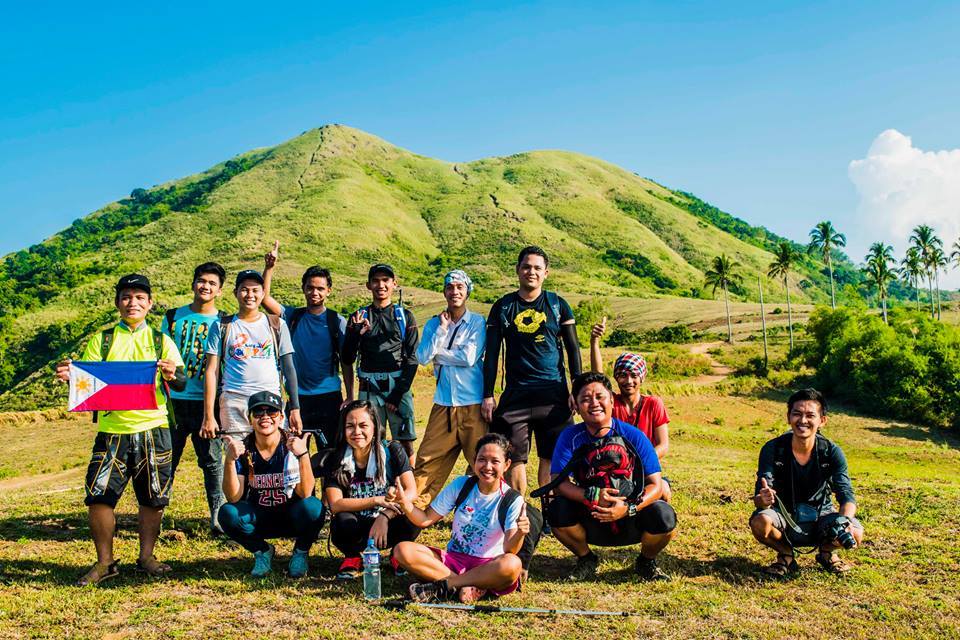
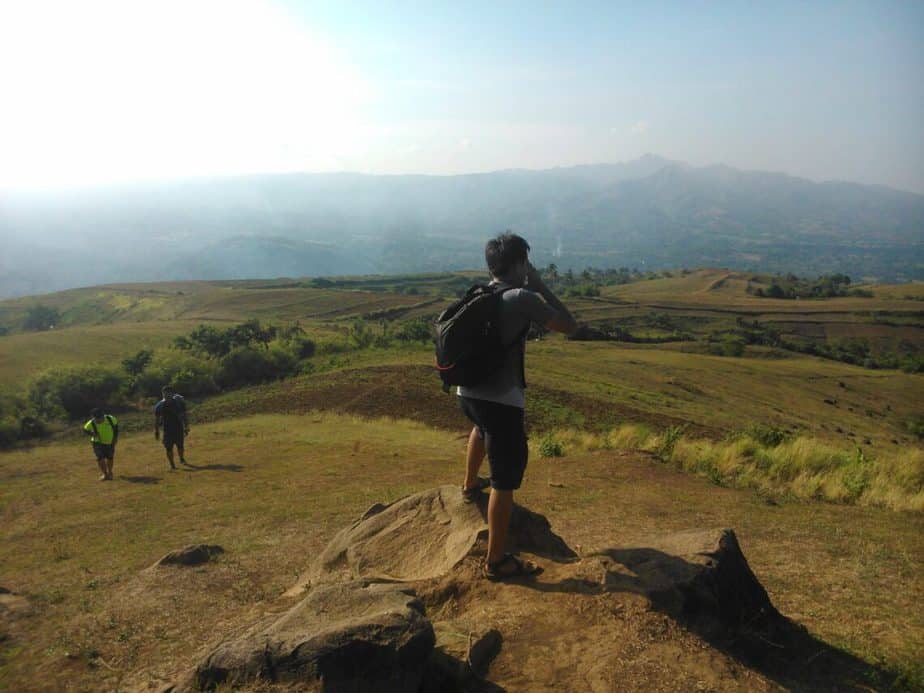
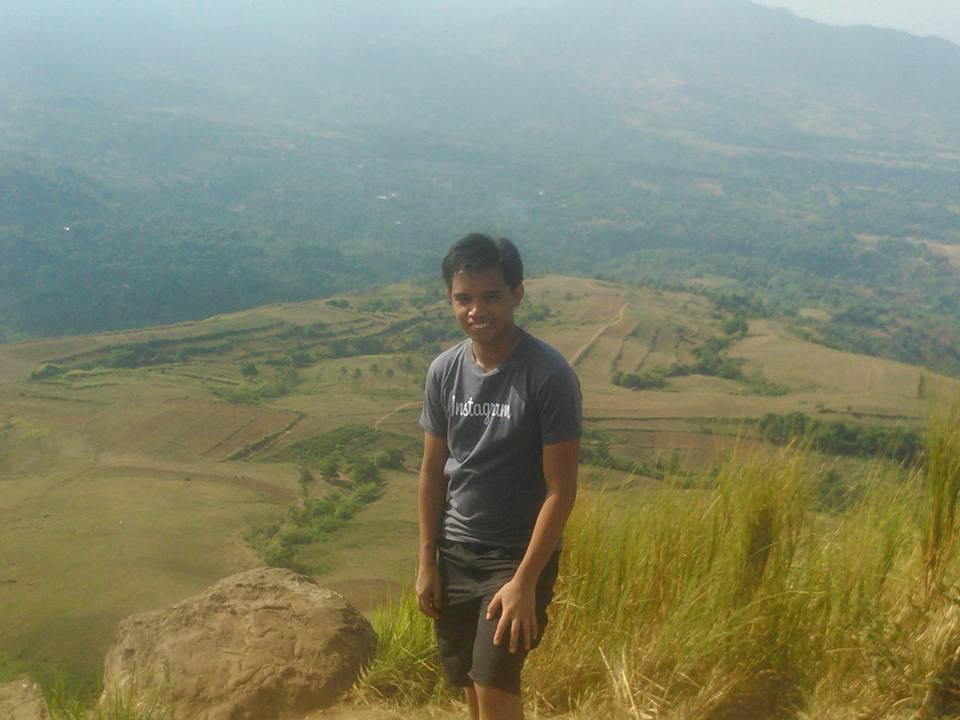
The view is worth it. I really like the view here. We love watching sunrise but what I really love is the space that I have in-between to do something uncommon. I took out my cellphone to take wonderful shots but some of the members I joined with are professional photographers, they are the ones taking pictures for us.
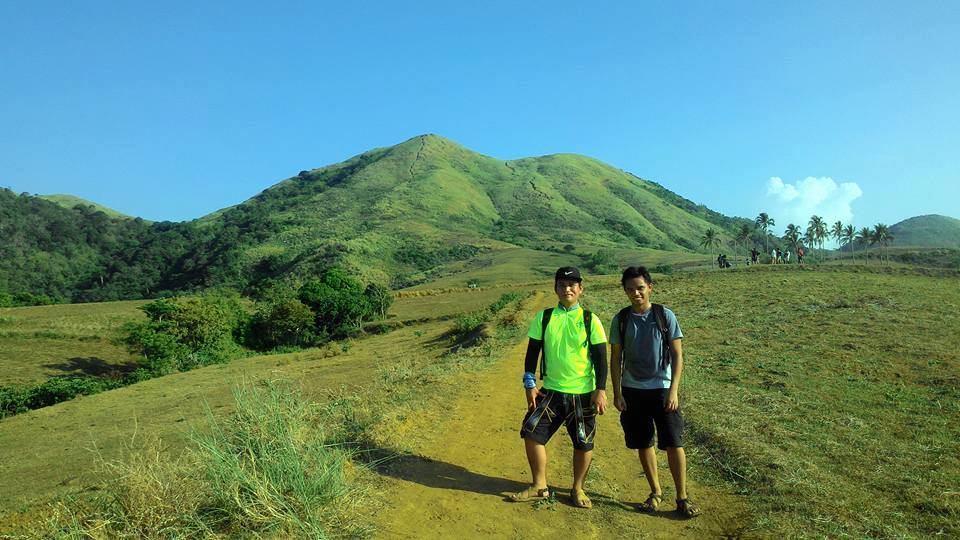
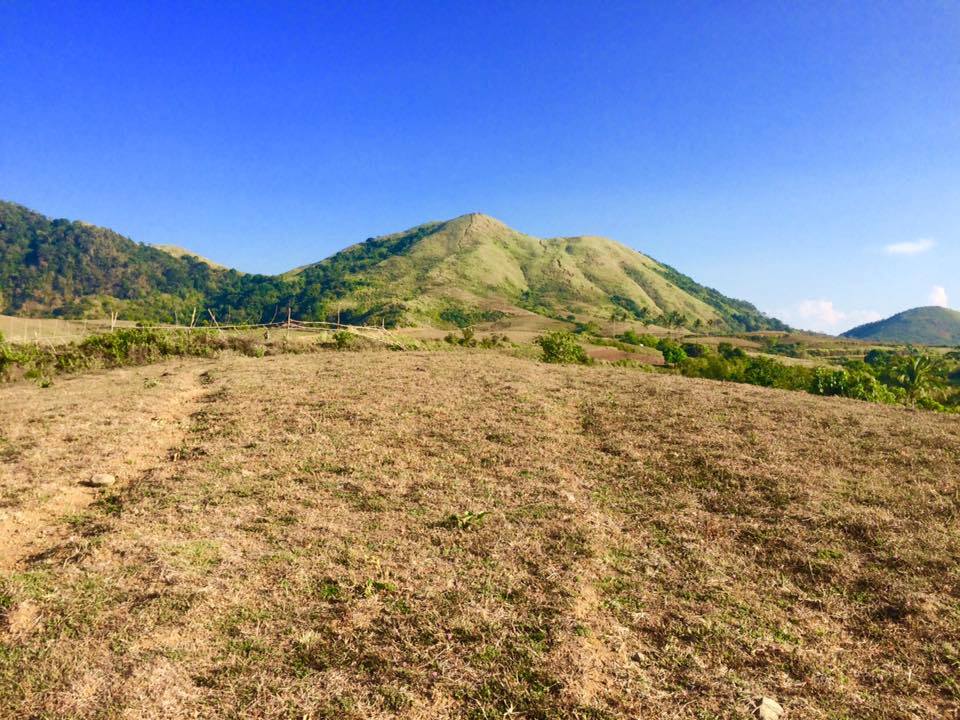
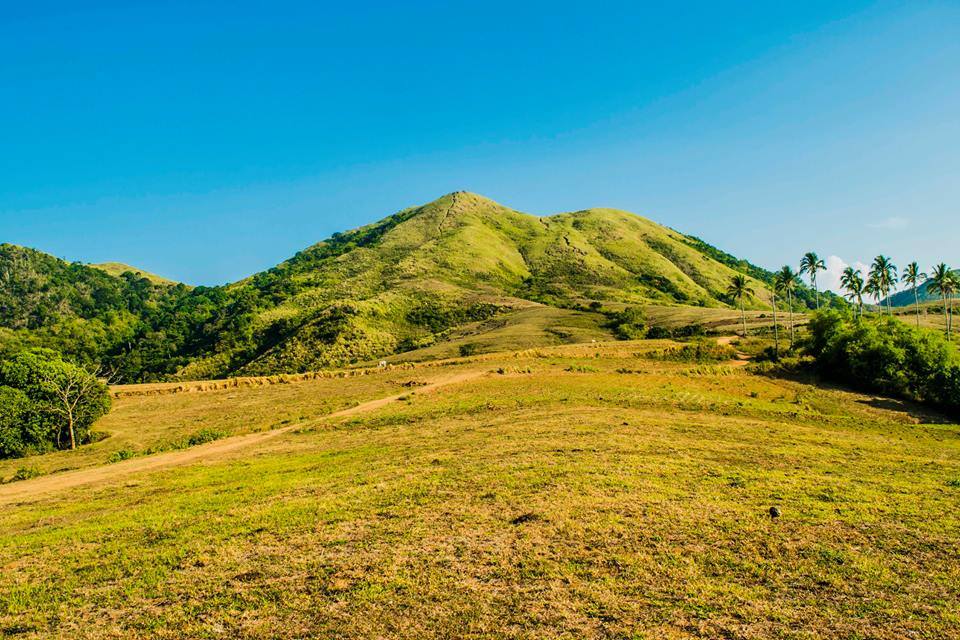
Far from the city noise and the crowd, the peace and sereneness of the mountain instantly relax my mind. Furthermore from this plateau part, we can already see the towering summit of Mt. Talamitam covered in light green. Also, we can see the grassland extends up to the base of the peak. On the other hand, we can see and smell the poop of the cow. We have to be mindful of what we are stepping on.
According to our guide, this vast grassland plateau part is a grazing area and pasture land for cows and it is situated halfway to the peak. Also, the local guide said to us that the only means of transportation inside the mountain is horses. The supply and food are being carried by these horses all the way to the grassland part. In my opinion, the grassland plateau part is like a super-wide football field where it can contain thousands of people. Also, it is very similar to the Mt. Balingkilat plateau portion just below the summit.
To be honest, before the hike I didn’t know that this kind of mountain existed in the Philippines. It feels like you’re hiking in another country because it’s like New Zealand. I said to myself what a beautiful creation by God. We took many pictures and videos at the green grassland part with Mt. Batulao looming in the background. For the most part, I admire the beauty of grassland. It is simply amazing to be there and to feel like it’s my home. What a wonderful world we live in. We thought we found a paradise place.
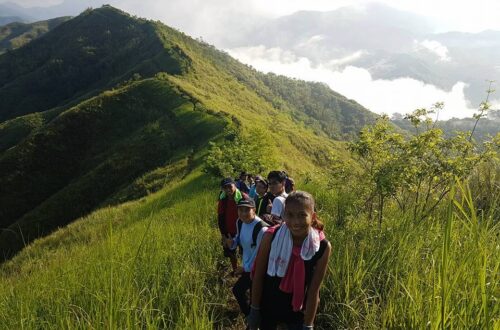
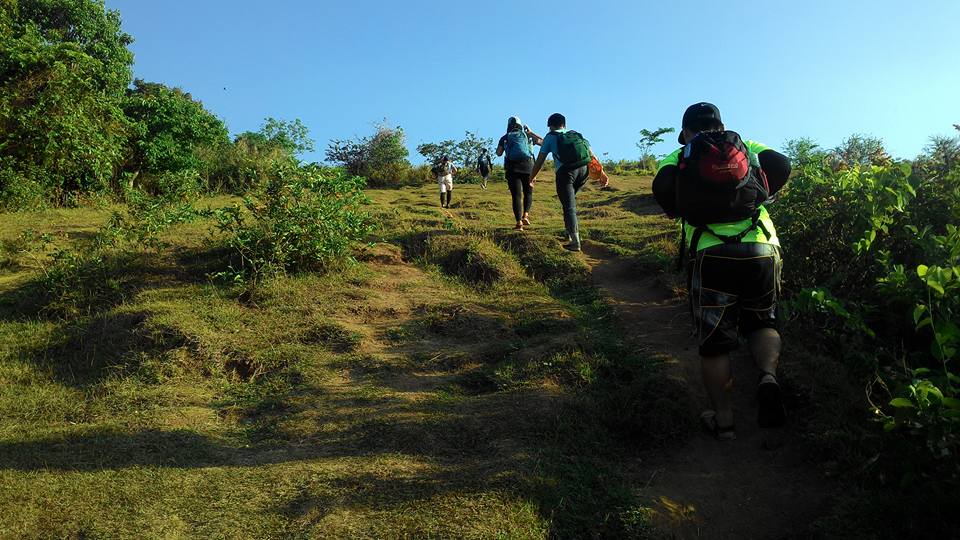
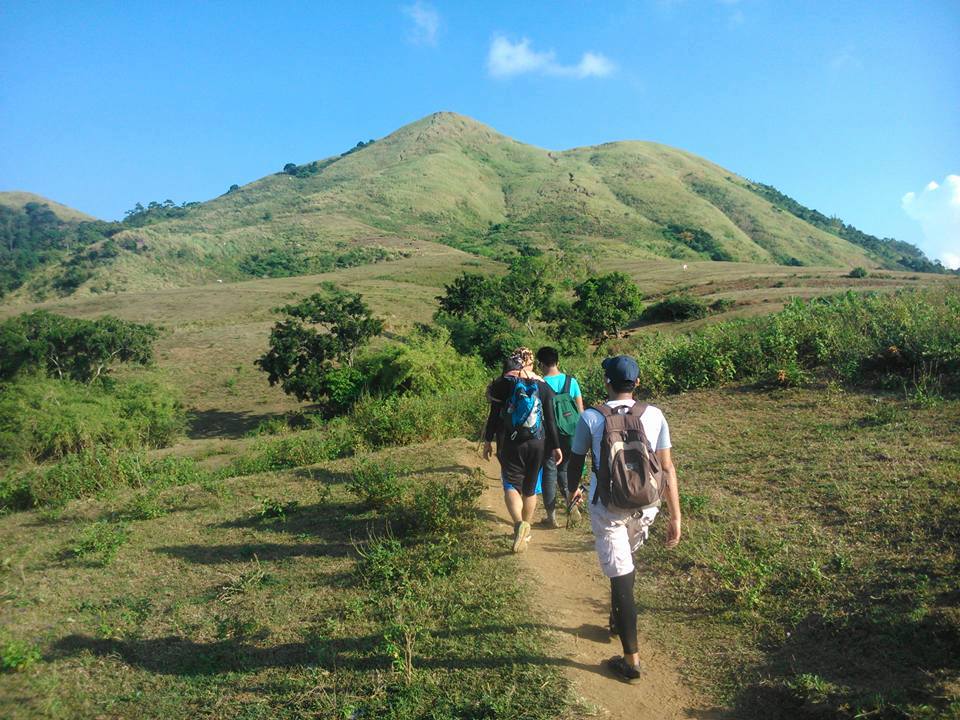
After resting for nearly forty-five minutes and savoring the sunrise view, we continued our hike towards the summit. We walked for several minutes in the open grassland with no shade and later we reached the 100 meters steep talahiban portion. In this talahiban part surrounded by cogon grass, I have to be very careful to avoid scratches and cuts from the blade of tall talahib grass. I think this is the most technical part of the entire hike.
We are sweating heavily and exhausted in the straightforward assault because of the heat of the sun and the continuous assault on loose rocks. Therefore, I had to stop several times to catch my breath. Also as a beginner in hiking, I told myself not to give up because we are almost there at the top.

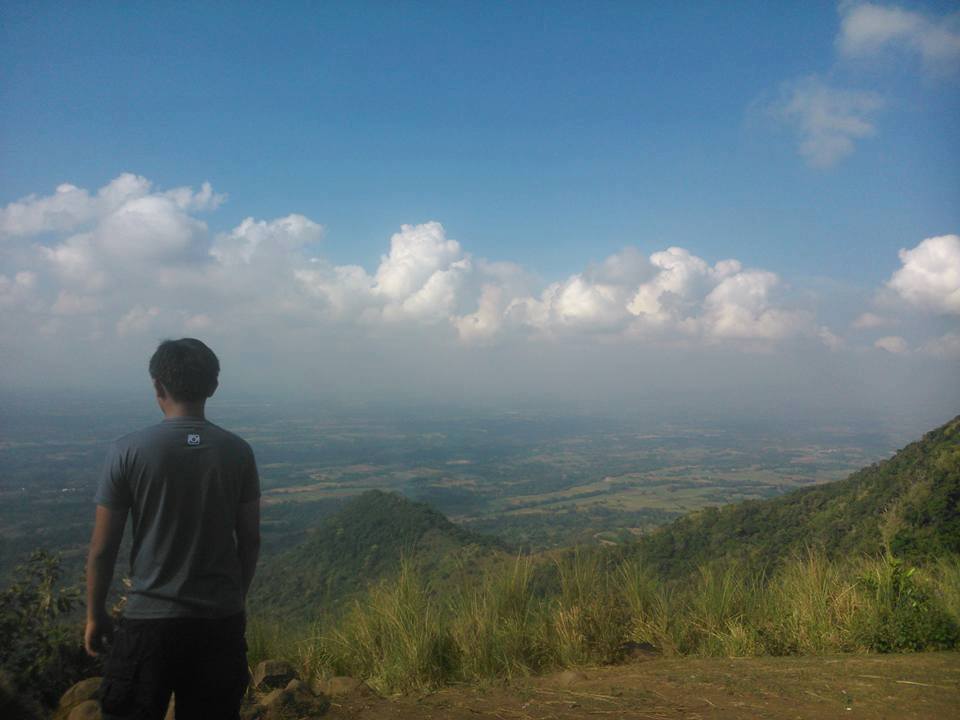
After some thirty minutes we reached the summit of Mt. Talamitam. All I can say is wow. At the summit, we can see how vast the grassland portion of this mountain is. Undoubtedly, this is the golden hour. We finally conquered the mountain. We have a good clearing and the view is stunning.
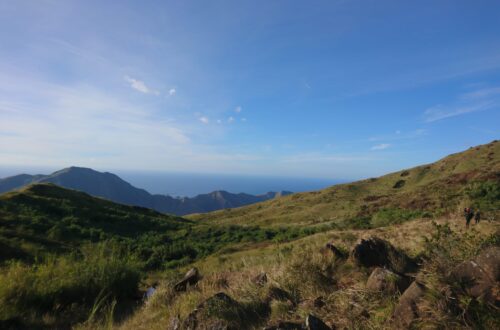
From the summit, a distinct view of Batangas province can be seen. I can see the prominent Mt. Batulao, Mt. Makiling, and Mt. Marami. To the west, I can see the famous Mt. Pico de Loro. To the southwest, I can see Ambil Island and Lubang Island of Occidental Mindoro as well as Nasugbu Bay. Moreover, we can clearly see some of the municipalities of Batangas such as Tuy, Lian, Balayan, and Calatagan.
We enjoy the superb view of the wide terrain below, the fresh air, and the cool wind at the summit. Moreover each member in the group chooses one rock to stand and take pictures and to serve as a viewpoint. Our eyes fully view the 360-degree view of the beautiful surroundings. I experience again how it feels to be at the top of the mountain.
Our group took a long rest at the nipa hut at the summit. Then we saw a local that sells fresh coconut juice, soft drinks, halo-halo, and a handful of snacks so we bought some to refresh our body before we continue the hike going to Mt. Apayang. On the other hand, even though we hike on weekends, I noticed that the summit is not jam-packed unlike Mt. Batulao and Mt. Maculot where there are so many hikers.
After resting and taking pictures, we continued the hike going to Mt. Apayang. We descend a little bit then the trail becomes a lush green surrounded by bamboo trees. A few minutes later the forested trail is mostly composed of wild cane, tall bushes, and overgrowth grasses that are six to nine feet high.
Then the trail becomes a mild assault but it’s manageable. We reached the summit of Mt. Apayang at 9:20 am. We shared some jokes and funny thoughts at the peak. According to our local guide, Mt. Apayang has an elevation of 662 meters above sea level which is slightly higher than Mt. Talamitam. The view is the same. It has a beautiful and nice view of Batangas. Also, we can see Mt. Batulao as well as the Maragondon mountain and hills.
On the other hand, the summit of Mt. Apayang is the same as the summit of Mt. Talamitam. It has a panoramic 360-degree view. We felt the strong wind blowing and some caps were blown away. However, there are no trees to offer us shade. As a result, we took group pictures and we didn’t stay long at the summit.
So our group bid farewell to Mt. Apayang and the locals and we start to descend going to Layong Bilog River. Going down the mountain was super easy at first but as we further went down it became a little hard because the trail is slippery and rocky with loose rocks and soil. We have to be very cautious and mindful about every step we take.
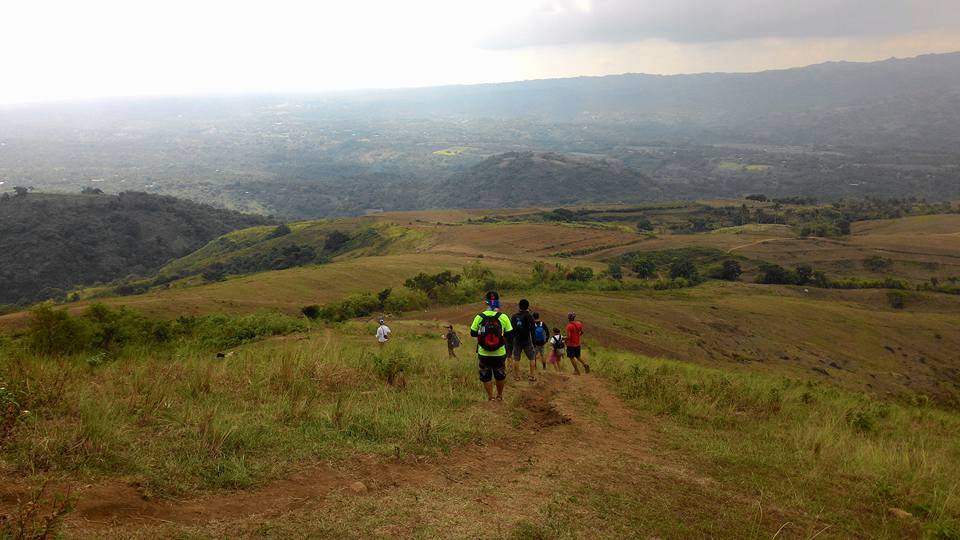
Then we reached the open grassland again and the heat of the sun was a punisher. I thought it’s like a walk in the park when we reached the green grassland part but to my surprise, it was already super hot midway through our descent and I didn’t bring an umbrella or cap to counter the extreme heat. Not bringing any sun protection is my big mistake. Indeed, Mt. Talamitam is one of the hottest mountains I hike.
Some of the members trail run and some members open their umbrellas during the descent. In addition, we saw again some horses and cows that were roaming. After several minutes we reached the cool forested trail and when we heard the sound of the rushing water coming from the river, our group became excited so we moved fast to get to the side of the river and beat the heat.
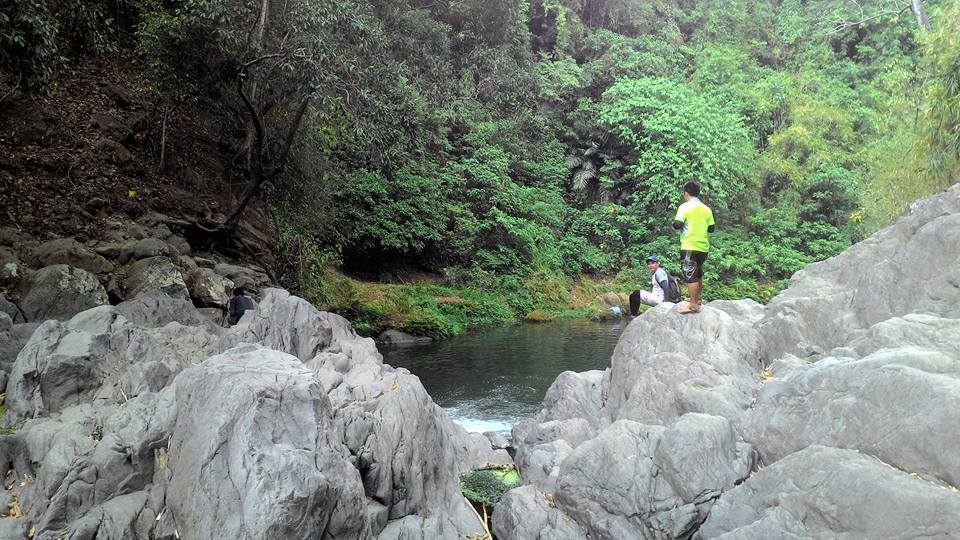
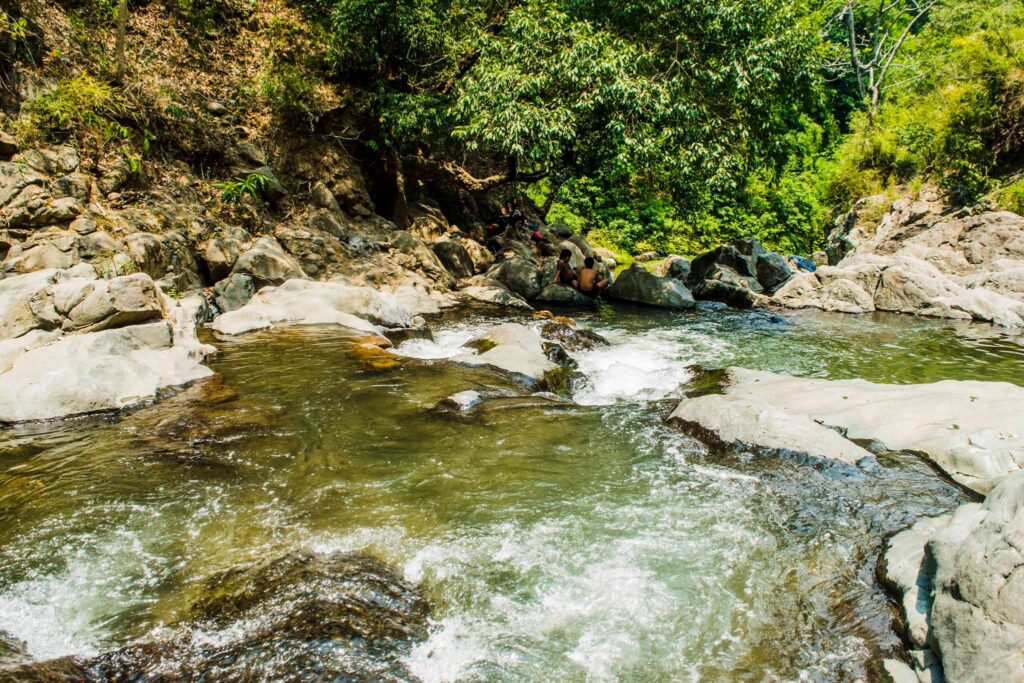
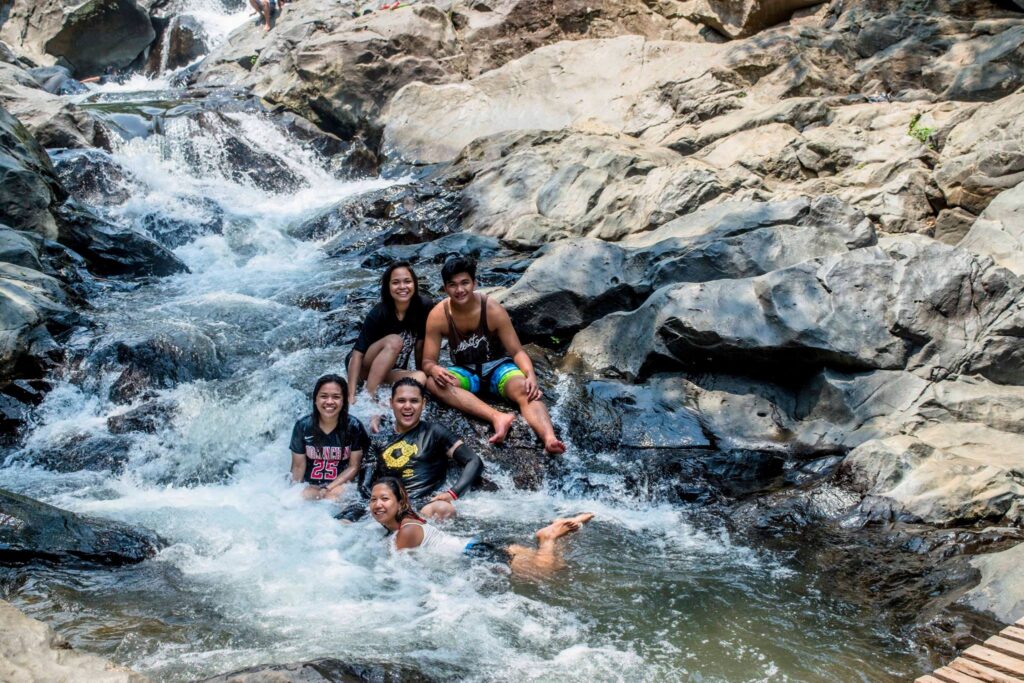
After nearly thirty-five minutes of descending, we reached the river. The water in Layong Bilog River is so relaxing, calm, and enticing. Also, the place is so tranquil with a lot of trees and the water is not that deep. Therefore some of the members took a dip and refreshed themselves while others just rested, chilled, and took pictures of the free-flowing river. There were only a few groups we saw swimming in the river including some locals.
We swam at the river and stayed there for almost one hour and fifteen minutes. We also eat our remaining trail food there. After enjoying swimming in the cold waters, we continued our descent on a relatively flat trail passing some villages going back to the jump-off. Then after several minutes of walking, we reached the highway which is the jump-off point.
We finished the twin hike in less than six hours including rest and swimming time. We feel the happiness of feeling able to hike a mountain again. Therefore it is worth the hike and the money. Mt. Talamitam and Mt. Apayang is my first ever twin hike. We washed up in the barangay and our group bid goodbye to the locals after that our van headed to Tagaytay City. We had our side trip at Tagaytay Mahogany Market where we bought a delicious bulalo to satisfy our cravings.
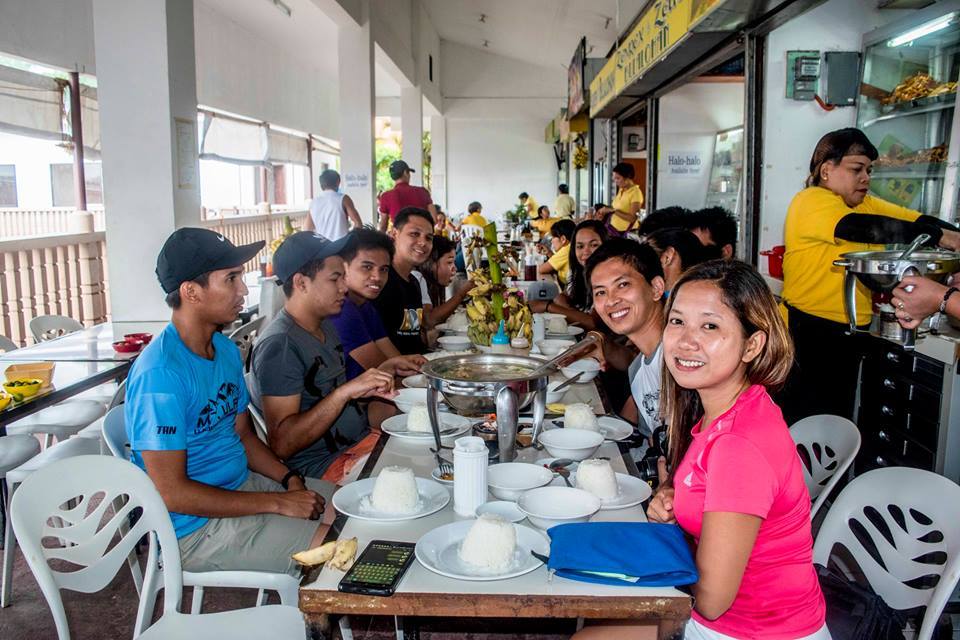


I thought this was the best side trip after a sweaty and draining hike. As our food was not served, we shared some mountains we climbed before and our experience. Later, the warm smell of bulalo enticed some of the members in the group to order more rice, coffee, and soft drinks. Our group spent one hour and thirty minutes eating the bulalo. I will never forget this place because it’s my first time here in Tagaytay City.
Also after we finished eating we bought some souvenirs and pasalubong food from the stores below before we entered the van. We left Tagaytay City around 4 pm. I slept in the van. After four hours of road trip including a stopover, our van reached Manila at 8 pm. Thanks be to God for giving us great weather and for another successful hike in the province of Batangas. Also, I want to thank Rommel for organizing this hiking event.
I had a great time hiking with a group of people who love nature. I have so many unforgettable photos and memories. Moreover, I enjoy hiking on Mt. Talamitam and so grateful for small things, big things, and everything in between. If happiness is the goal and it should be, hiking adventures is my top priority. I am so lucky to be part of this climb.
Indeed, it was truly a great experience for me as a beginner. I really learned a lot from my mistakes and experience on this mountain. Indeed, Mt. Talamitam is a perfect mountain for those who want to start their hiking journey. It is a haven for self-admiring people seeking peace and quietness.
In my opinion, it is a must-hike destination in the Philippines and it should be included in the bucket list of someone who really appreciates nature. Furthermore, memories made in this mountain stay in my heart and mind forever. I hope I can go back to this beautiful mountain again. On the whole, my trip to Mt. Talamitam sums up this quote: “All good things are beautiful, wild and free”.
Things to bring on your visit to Mt. Talamitam and Mt. Apayang:
Umbrella
Jacket
Snacks, Trail food
1 to 2 liters of bottled water
Extra cash, slipper, and clothes
Swimming attire
Alcohol
First Aid Kit
Flashlight
Cap
Scarf or Handkerchief
Personal medication
Towel
Toiletries
Plastic bags, dry bags
Arm Sleeves (optional)
Sunblock (optional)
Trekking pole (optional)
Tent, utensils, and camping gear if you’re doing overnight
Sample 1 Day itinerary to Mt. Talamitam (Dayhike)
1AM – Assembly at the designated location
1:30AM – ETD going to Barangay Kayrilaw, Nasugbu, Batangas
5AM – ETA jump-off point of Mt. Talamitam, registration, and secure guide
5:30AM – Start hiking
7AM – Exposed trail, grassland
8:15AM – Arrival at summit, breakfast, and photo-ops
9:15AM – Start descent
10:45AM – Layong Bilog River, swim
12PM – Arrival at the registration area, wash up
2PM – Arrival at Tagaytay Mahogany market, eat bulalo and buy souvenirs
5PM – Depart going back to Manila
8:30PM – ETA Manila
Sample 2 Day itinerary to Mt. Talamitam (Overnight)
Day1
11AM – Assembly, meetup
11:30AM – Ride a bus going to Mt. Talamitam registration site
3PM – ETA registration site, secure guide
3:20PM – Start hiking
5PM – Arrival at the campsite, pitch tent, photo-ops
7PM – Dinner, socials, and stargazing
10PM – Lights out, sleep
Day2
5AM – Wake up call, breakfast
7AM – Assault to summit
7:30AM – Summit, sunrise viewing, photo-ops
8:30AM – Going back to the campsite
9:30AM – Break camp
11:10AM – Arrival at Layong Bilog River, swimming
12:45PM – Back at Jump-off point, tidy up
2:30PM – Side trip to Tagaytay City
6PM – ETD going back to Manila
9:30PM – ETA Manila
Note: the above sample itinerary is just a premise and not absolute or will not be 100% accurate due to many factors such as the weather condition, group pacing, traffic, emergency, etc.
How to Go to Mt. Talamitam
By commute
Option 1:
- From Coastal Mall in Paranaque, ride a bus bound to Nasugbu, Batangas and tell the driver to alight you at Sitio Bayabasan, Barangay Aga.
- Then from Sitio Bayabasan, walk or ride a tricycle going to the registration site.
Option 2:
- From Manila, ride a jeep or bus going to Gil Puyat Buendia bus station.
- Then from the Buendia bus station, ride a bus going to Nasugbu, Batangas, and tell the bus driver or bus conductor to drop you off at Sitio Bayabasan, Barangay Aga.
- After that walk towards the registration site and jump-off point of Mt. Talamitam.
Note: The approximate travel time going to Nasugbu, Batangas is 3 hours.
By private car
Option 1:
- From Manila, drive through Cavitex (Manila-Cavite Expressway) then proceed to Emilio Aguinaldo Highway. After that, you will reach Tagaytay City.
- Then continue driving through Tagaytay-Nasugbu Highway until you reach Sitio Bayabasan.
- From Sitio Bayabasan, walk or ride a tricycle going to the jump-off point.
Option 2:
- Drive through SLEX (South Luzon Expressway) then take the Sta. Rosa exit
- Follow the road going to Nasugbu, Batangas, until you reach Sitio Bayabasan.
Option 3:
- Use Waze app or Google Maps and pin to Barangay Kayrilaw, Nasugbu, Batangas.
Reminders and Tips:
- Mt. Talamitam is a minor climb and it is recommended for beginners or first-timers in the hiking scene. The hike to and from the summit takes about five hours or less but it depends on your pacing. Without a doubt, Mt. Talamitam and Mt. Apayang can be hiked in half a day. Maximum of three hours to ascend and minimum of two hours to descend.
- Mt. Talamitam has a total trail length of 7.5 kilometers or 7,500 meters.
- Take note that the new jump-off point and registration site of Mt. Talamitam is located at Barangay Kayrilaw tourism reception area, Nasugbu, Batangas. It is near the Kayrilaw Elementary School and Kayrilaw Road. They only accept 100 hikers per day on this new trail.
- Take note no guide is no hike. Guides are recommended and it is mandatory. The guide fee for 5 hikers is 500 pesos. Tourism ecological fee is 20 pesos, Barangay donation is 20 pesos, and shower fee is 20 pesos. Please take note that the rates and fees may change without prior notice.
- Bring sufficient water at least 2 liters especially during the dry season because there’s only one water source at the mountain. Also, it is very important to start the hike early in the morning to avoid the scorching heat of the sun and to be able to observe the sunrise on the summit. You may start as early as 5 am.
- Kindly follow the LNT (Leave No Trace) principle at all times. Dispose your waste or trash in a proper manner. Always be a responsible hiker and camper. It is better to keep the mountain clean.
- Respect the place and the locals. We are only there to visit the mountain.
- Wear appropriate clothing such as a long dri-fit shirt and jacket because the grassland part is exposed to the extreme heat of the sun and protects you from the blade of tall grass. Moreover, bring sun protection like sunblock or umbrella. Don’t forget to wear an arm sleeve.
- Check first the weather forecast in Nasugbu, Batangas before you visit the mountain. It is important to have good weather to be able to see the magnificent views at the top and to avoid a slippery trail especially when it rains.
- For campers that will do an overnight at the campsite, please bring a garbage bag for your trash.
- There are no blood leeches in the mountain and the cell phone signal is mostly present along the trail. At the summit of Mt. Talamitam, there are local vendors that sell a variety of food and drinks. Take note that the local vendors are not present every day.
- Mt. Talamitam is not a difficult hike compared to Mt. Batulao. It has a straightforward trail and is easy to navigate.
- Parking space, sari-sari stores, and restrooms are available at the jump-off point.
- The best month to climb Mt. Talamitam is from January to April.
- For ease and convenience, I highly recommend getting a packaged tour. Included in the package tour is round trip van transportation from Manila to Nasugbu, Batangas, and vice versa, registration fee, tour coordinator fee, guide fee, environmental fee, and parking fee. Excluded in the package tour is personal meals and restroom fee.
- The jump-off point of Mt. Talamitam is very accessible to both public and private vehicles.
- Make sure you are aware and mindful of the surroundings when hiking because there are some instances when hikers encounter some snakes in the trail according to our local guide.
- If you’re an experienced and seasoned hiker you may want to do a Trilogy day hike consisting of Mt. Talamitam, Mt. Apayang and Mt. Lantik. Mt. Lantik has a height of 560 meters above sea level or 1,837 feet. It also has a good campsite area. The summit of Mt. Lantik can be reached within one hour only.
- Many hikers suggest that once in a while do overnight camping at Mt. Talamitam to better admire the elegance and beauty of the mountain and to experience different nightlife while observing innumerable stars above. At the base of the summit, you can pitch your tent. The place is so wide, you don’t have to worry about spacing.
- There are three jump-off points, the first is at Barangay Kayrilaw, the second jump-off is still closed and the third jump-off is located in Ludlod.
- A stopover to Tagaytay city and other tourist destinations in Batangas is a good side trip after a grueling hike.
- Last but not least, it is very important to remember which trail you took going up in case you end up on another trail.
There you have it. Hike a mountain and you’ll love it. Take note no pain is no gain. Overall, I hope this Mt. Talamitam day hike guide has been helpful to you. Also, don’t forget to share this with your family, friends, groups, and colleagues if you ever plan on doing Mt. Talamitam traverses to Mt. Apayang day hike too. For questions, corrections, and suggestions, kindly leave them in the comments below and I will try to respond as soon as possible. God bless you in all your future hiking endeavors. Thanks for reading.
Jervis Ergino
Hi! I’m Jervis Ergino, the digital content creator behind Hike to Mountains, a travel and hiking blog in the Philippines. This blog is dedicated to helping people know more about the best hiking and tourist destinations in the Philippines.